

The Professional Dematting Guide: 11 Steps to Remove Dog Mats Without Hurting Your Pet
Stop the struggle with stubborn tangles. Our professional groomer’s guide reveals 11 secrets to remove dog mats at home safely, the best tools to use, and how to keep the coat pain-free.
# Title: The Professional Dematting Guide: 11 Steps to Remove Dog Mats Without Hurting Your Pet # Slug: how-to-remove-dog-mats-without-pain # Meta Description: Stop the struggle with stubborn tangles. Our professional groomer’s guide reveals 11 secrets to remove dog mats at home safely, the best tools to use, and how to keep the coat pain-free.
How to remove dog mats is the most frequent question I answer. It usually starts with a frantic phone call. A pet parent tried to snip a small knot. They ended up at the vet for stitches. I remember a specific case. It was a beautiful Shih Tzu named Bella. Her owner hadn’t brushed her for three weeks. This happened during a busy holiday season. By the time they brought her to me, she was a mess. Her ears were solid blocks of felted fur. Bella was hiding under the sofa. She snapped at anyone who touched her. She wasn't being mean. She was in total agony. Every time she moved, those tight mats pulled her skin. It felt like a vice grip. How to remove dog mats without that pain is my mission today.
TABLE OF CONTENTS
- The Science of Why Mats Hurt Your Dog
- The Professional Dematting Toolkit
- The Professional Steps on How to Remove Dog Mats Safely
- Step 1: How to Remove Dog Mats by Assessing Severity
- Step 2: The Cornstarch Trick on How to Remove Dog Mats
- Step 3: Using Your Fingers First
- Step 4: Saturating with Professional Detangler
- Step 5: The Pat-and-Pull Slicker Technique
- Step 6: Using the Specialized Dematting Rake
- Step 7: Mastery of Line Brushing
- Step 8: Breaking the Inner Mat Core
- Step 9: The Metal Comb Final Check
- Step 10: Soothing the Post-Brush Skin
- Step 11: Positive Reinforcement and Rewards
- Cutting vs. Picking: The Groomer's Verdict
- Common Mistakes I See in My Salon
- How to Prevent Future Mats Permanently
THE SCIENCE OF WHY MATS HURT YOUR DOG
In my salon, I see many owners. They think mats are just an aesthetic issue. They are wrong. A mat is more than a tangle. It is a trap for moisture. It holds bacteria and parasites. When fur becomes "felted," air cannot reach the skin. This creates a warm, humid environment. Yeast and fungus thrive there. Groomer Secret: Long-term mats can cut off blood circulation. This happens on ears or tails. This is why learning how to remove dog mats is vital for health. It is not just about vanity. How to remove dog mats is a medical necessity.
Understanding mat anatomy helps you tackle them. A mat consists of dead hair. This hair has shed but stayed in the coat. It gets caught in healthy, growing fur. If you do not remove dead hair, it wraps around living strands. Eventually, it pulls the skin tight. This causes bruising and extreme sensitivity. This is the root of "grooming aggression." I have noticed that dogs become "mean" only when they hurt. Proper dematting changes their personality. Learning how to remove dog mats is an act of love.
| Skin Issue | The Biological Cause | The Pain Level |
|---|---|---|
| Hot Spots | Trapped moisture and bacteria. | High / Intense Stinging |
| Hematomas | Blood vessels bursting from tension. | Severe / Requires Vet |
| Dermatitis | Lack of oxygen to the skin. | Medium / Constant Itch |
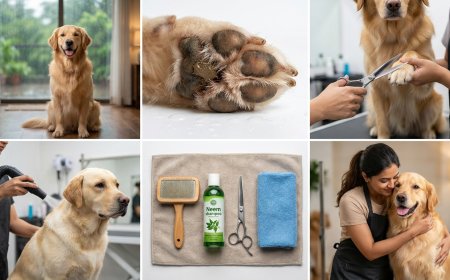
THE PROFESSIONAL DEMATTING TOOLKIT
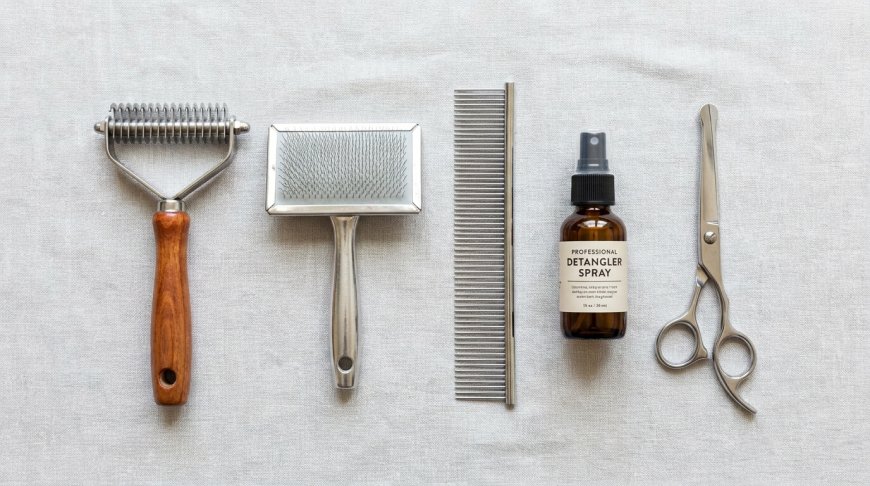
I’ve noticed that most owners use human brushes. Please stop doing that. Human brushes are for human hair. Dog fur is fundamentally different. You need a specialized kit. This is essential to know how to remove dog mats efficiently. Here is my professional setup:
- Slicker Brush: Look for fine, bent wire bristles. This is your primary tool. It fluffs and separates hair layers.
- Stainless Steel Comb: This should have two spacing widths. It is essential for checking your work.
- Dematting Rake: This tool has sharp blades. It slices through dead hair without touching skin.
- Professional Detangler: Never brush a dry coat. It causes static and breakage. I prefer silicone-based sprays.
- Cornstarch: This is a pantry staple. It works better than expensive powders. It loosens grease-based knots.
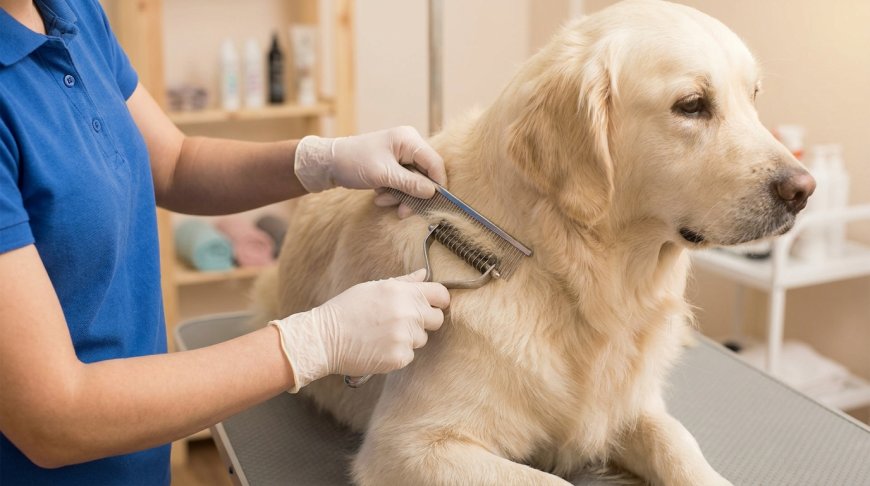
THE PROFESSIONAL STEPS ON HOW TO REMOVE DOG MATS SAFELY
STEP 1: HOW TO REMOVE DOG MATS BY ASSESSING SEVERITY
First, feel the mat with your fingers. Is it away from the skin? Or is it tight against the body? If you can’t see skin, it’s a "pelt." Groomer Secret: If the mat is tighter than a drum, do not brush. Brushing a pelted dog is torture. In those cases, a shave is the only humane option. For loose mats, you can proceed safely. Always check the base of the hair first. How to remove dog mats starts with this careful inspection.
STEP 2: THE CORNSTARCH TRICK ON HOW TO REMOVE DOG MATS
I learned this trick early in my career. If a mat is greasy, use cornstarch. Rub a small amount into the knot. The starch absorbs oils. These oils act like glue for the hair. Starch makes fibers slide past each other. It is a game-changer for thick-coated breeds. Think of Poodles or Bichons. It is a vital part of how to remove dog mats at home. It is cheap and effective.
STEP 3: USING YOUR FINGERS FIRST
I’ve noticed owners grab the brush too fast. Use your fingers first. Gently pull the mat apart from the edges. Imagine untying a tight shoelace knot. Work from the outside in. Loosening the "outer shell" reduces pulling later. This is the low-pain secret. It keeps your dog calm. How to remove dog mats is about patience, not force.
STEP 4: SATURATING WITH PROFESSIONAL DETANGLER
Never brush a dry mat. Brushing dry hair causes stretching. It makes the hair shaft snap. This creates more tangles later. Spray the mat liberally. Let the solution sit for three minutes. This allows product to reach the core. It provides the needed lubrication. The bristles will glide through more easily. This step protects the healthy coat.
STEP 5: THE PAT-AND-PULL SLICKER TECHNIQUE
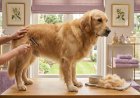
Most people drag the brush through the hair. This is a mistake. Use the "Pat-and-Pull" method. Gently pat the slicker brush onto the mat. Then pull it away from the dog's body. Use a slight flicking motion. This separates top layers without tugging skin. Repeat this until the top looks fluffy. Groomer Secret: Keep your wrist loose to avoid applying too much pressure.
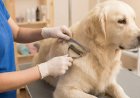
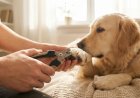
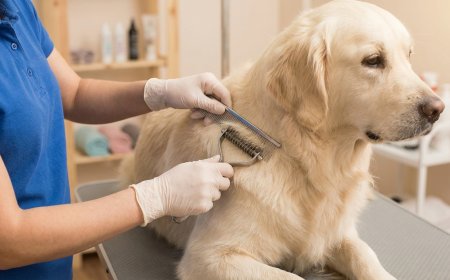
STEP 6: USING THE SPECIALIZED DEMATTING RAKE
If the mat remains solid, use the rake. Hold the base of the hair firmly. This prevents the tool from pulling the skin. Gently hook the tool into the mat. Pull it through the hair. The blades slice dead fibers. This thins the mat. Now you can brush it out easily. This is how you learn how to remove dog mats without using scissors.
STEP 7: MASTERY OF LINE BRUSHING
In my salon, I use line brushing daily. Start at the bottom of the leg. Push the hair up with one hand. Brush the "line" of hair revealed underneath. Work your way up the body. This ensures you reach the skin. Hidden mats live deep in the coat. This technique is similar to our Golden Retriever grooming guide. Reach the undercoat every time.
STEP 8: BREAKING THE INNER MAT CORE
The mat might feel loose now. But a hard "core" often remains. Use the edge of your metal comb. "Pick" at this core gently. Do not pull the hair. Wiggle the comb teeth into the clump. This breaks the final knot. Groomer Secret: If the core is stubborn, use vertical snips. Point the shears away from the skin. This breaks the structure without bald spots. This is advanced how to remove dog mats technique.
STEP 9: THE METAL COMB FINAL CHECK
You are not done yet. A metal comb must slide through easily. It should go from skin to tips. I’ve noticed owners stop too early. Slicker brushes often jump over deep knots. The metal comb is the ultimate truth. If it catches, a mat remains. Pros use this to ensure total removal. This is the standard for how to remove dog mats.
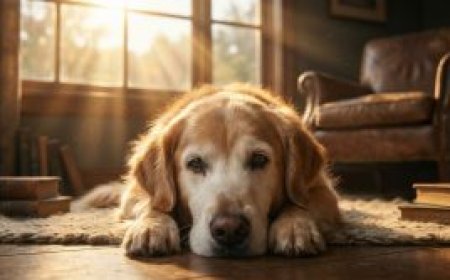
STEP 10: SOOTHING THE POST-BRUSH SKIN
Dematting makes the skin red. We call this "brush burn." It comes from tension and friction. I always apply a soothing foam. Use aloe-vera or a cool cloth. This calms the follicles. It prevents the dog from scratching. Licking can lead to hot spots. Healthy skin is the foundation. Read more in our diet and skin allergy guide.
STEP 11: POSITIVE REINFORCEMENT AND REWARDS
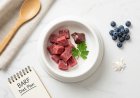
Dematting is stressful for pets. If it hurts, they will fight you. Give high-value treats throughout. Use boiled chicken or cheese. End with a play session. You want them to feel light and happy. The memory should be positive. This psychological part is huge. It makes the next session easier. How to remove dog mats is a bonding process.
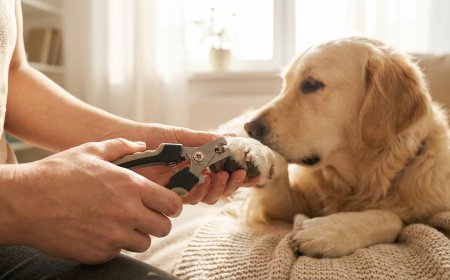
CUTTING VS. PICKING: THE GROOMER'S VERDICT
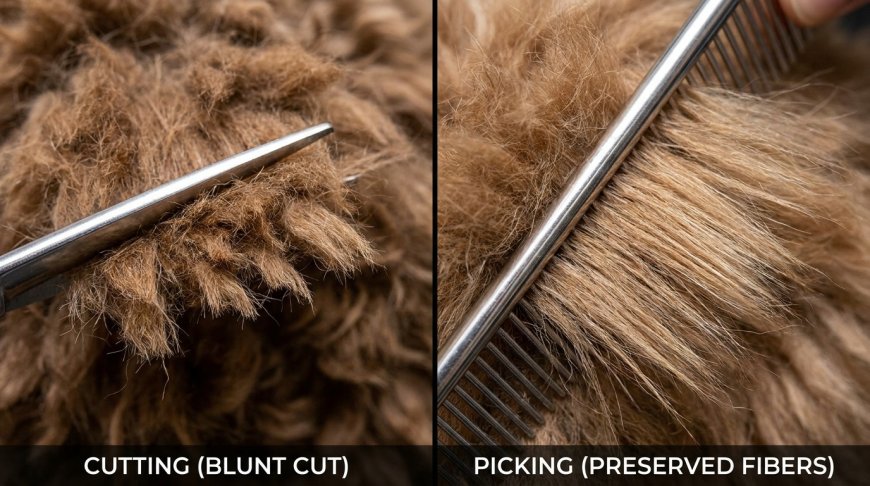
Parents often ask about cutting mats. It is faster, yes. But it is very dangerous. It also looks terrible. In my salon, I prefer "picking." This means manual separation. I only cut if it is a health risk. Here is a comparison. It will help you decide how to remove dog mats effectively. Choose the safest path for your pet.
| Feature | Cutting the Mat | Picking (Brushing) |
|---|---|---|
| Total Time | Seconds | 15-30 Minutes |
| Pain Factor | Low (with care) | High (due to tugging) |
| Visual Look | Bald patches / Holes | Full, lush coat |
| Injury Risk | Very High | Low (Brush burn risk) |
Groomer Secret: Never use kitchen scissors. Dog skin is very elastic. If you pull a mat, skin follows. You will cut the dog easily. I have seen terrible injuries from this. Always use safety shears. Or use a #10 clipper blade. Safety is your first priority always.
COMMON MISTAKES I SEE IN MY SALON
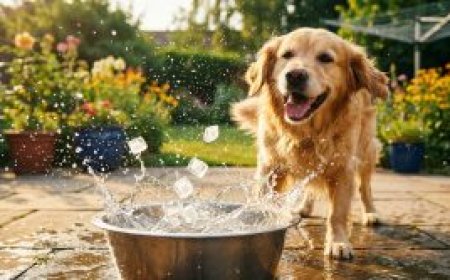
I have noticed patterns over the years. Most owners make the same errors. First, they bathe a matted dog. Do not do this. Water makes mats tighter. It is like a wool sweater in the wash. It "felts" the hair together. Always demat before the bath. This is the golden rule of how to remove dog mats correctly. Knowing how to remove dog mats before water hits them is crucial.
Second, people brush only the top layer. The coat looks fluffy on top. But underneath, the skin is suffocating. I call this "vanity brushing." Use the "pinch test." Pinch the hair at the base. If you can't feel skin, it's matted. Third, people wait too long. A small tangle becomes a pelt in days. Brush your dog daily. This is the best way on how to remove dog mats without pain. Consistency is the secret to success.
HOW TO PREVENT FUTURE MATS PERMANENTLY
Prevention is easier than removal. You need a consistent routine. I've noticed that regular grooming saves money. Dogs with professional baths every month have fewer mats. High-velocity dryers blow out dead hair. This prevents tangles before they start. This is vital in humid weather. See our monsoon grooming guide for details.
Focus on "friction areas." These are the armpits and behind ears. Check where the collar sits. Remove the collar inside the house. This lets the neck hair breathe. Spend five minutes brushing these spots daily. It saves hours of work later. For more tips, check the AKC grooming guide. It is a great resource for owners.
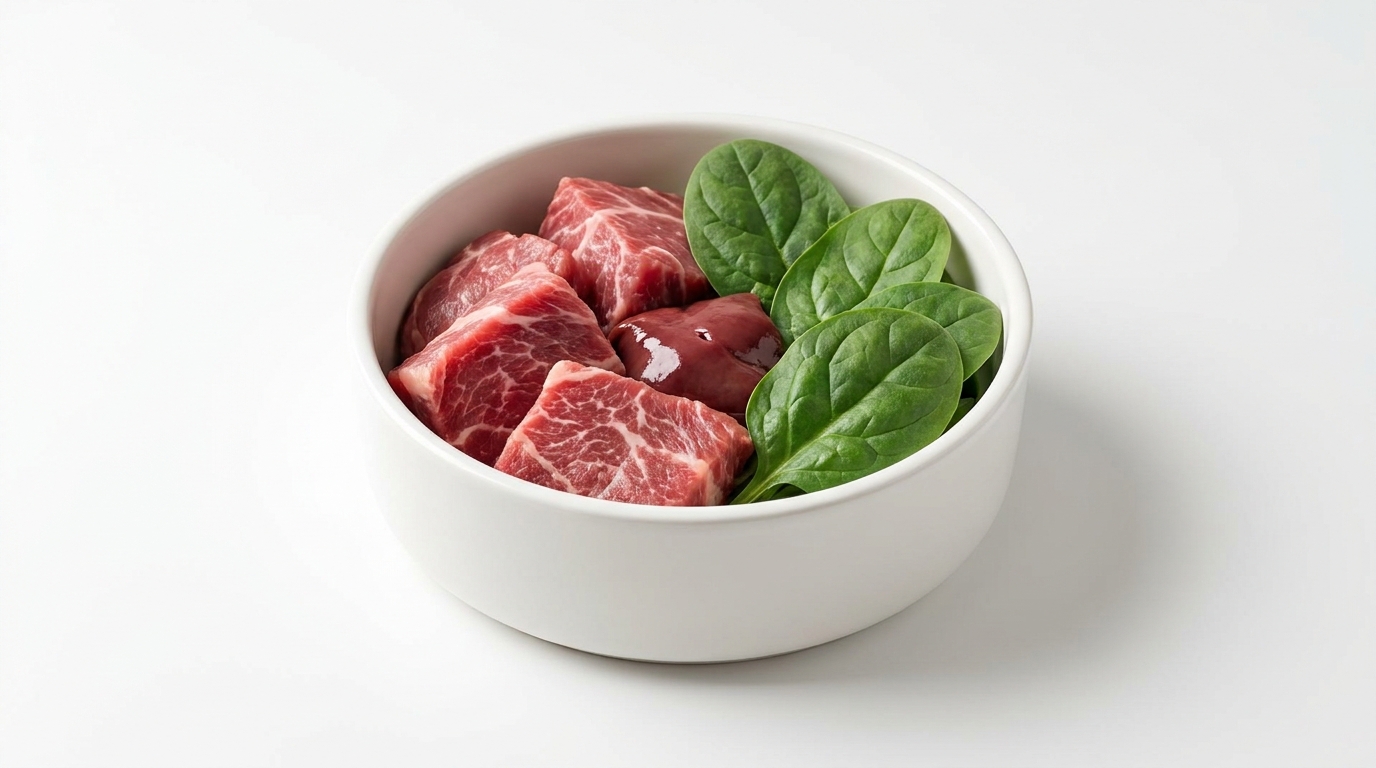
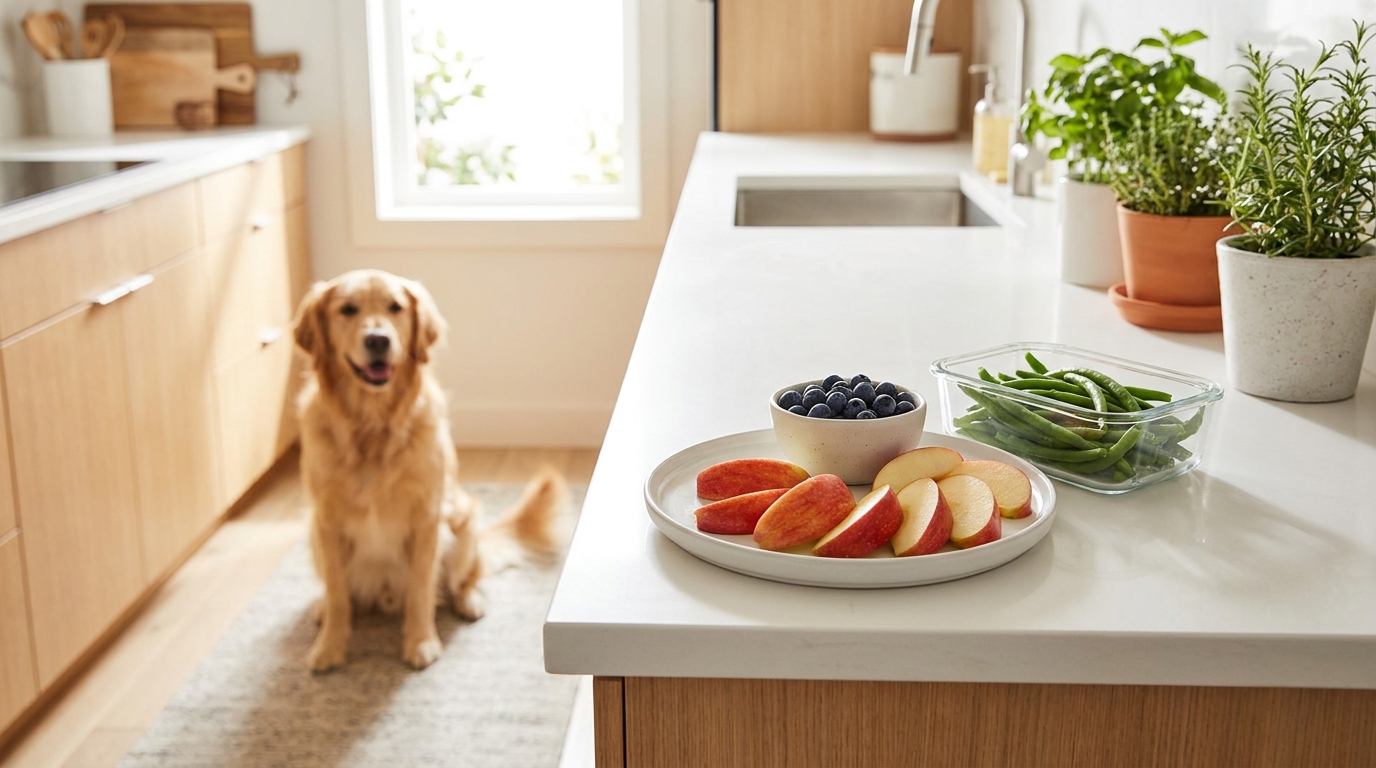
Nutrition also plays a huge role. Dry hair tangles faster. Use Omega-3 fatty acids in their diet. This keeps the coat hydrated. Use a high-quality conditioner. It closes the hair cuticle. This prevents hairs from locking together. Just like cleaning your dog's teeth, coat care is daily. It is not a once-a-month task.
Learning how to remove dog mats takes time. Be patient with your pet. Do not do everything at once. Work on one leg. Give a treat. Then stop for the day. Keep sessions short and sweet. You will become your pet's favorite person. They will feel fluffy and light. You now have the skills to succeed. You know exactly how to remove dog mats like a pro!